Friday, September 7, 2012

Jordan's Worldview in Two Frames or Less: T-Shirt Canvas

About a year ago, Jordan and I were wandering through a thrift store.  If you haven't yet put two and two together, we go thrifting a lot.  That is, I frequently request that we visit "a thrift store or two" and Jordan obliges me by spending the next several hours standing around, mindlessly flipping through t-shirts that will never fit, while I scour the shelves.  

On this particular thrift store adventure, Jordan approached me with a t-shirt in his hand, a gleam in his eye, and a brilliant smile on his face.  Why?  Because he had unearthed this gem...


For a hockey-loving-Jesus-follower like Jordan, this shirt was just too perfect.  Kitschy?  Maybe.  Awesome?  Yes.  Four sizes too large?  Definitely.  

We bought it anyway.  

What to do with the beloved oversized t-shirt?  Why not make art?

I decided to buy a canvas to display the t-shirt's design.  Both the shirt and the canvas sat in my dresser drawer for a year, but when we moved, they came to my attention and I finally decided to take ten minutes to do the project.

If you ever encounter a t-shirt that you can't wear, but cannot leave on the shelf, or, if you have a t-shirt that has seen better days, but you cannot throw away, here is a super easy project for you.  Wouldn't this be so fun to do with a t-shirt your child outgrows?  I've also seen photos of canvases covered with pretty fabric on Pinterest and they are lovely.

You'll need:

A t-shirt or fabric
Scissors
Staple gun (this is preferable.  I actually just used a standard stapler.)
Canvas 

This is so easy, I'm not sure anyone needs directions, but just in case...

Position the canvas over the portion of the fabric you want to preserve.  Cut this portion of the fabric, leaving enough on all sides to fold over the edges of the canvas.

Staple along the edges, using as many staples as you need to ensure that the fabric is secure.  Fold the fabric around the corners to create neat lines, and staple the corner fabric together.
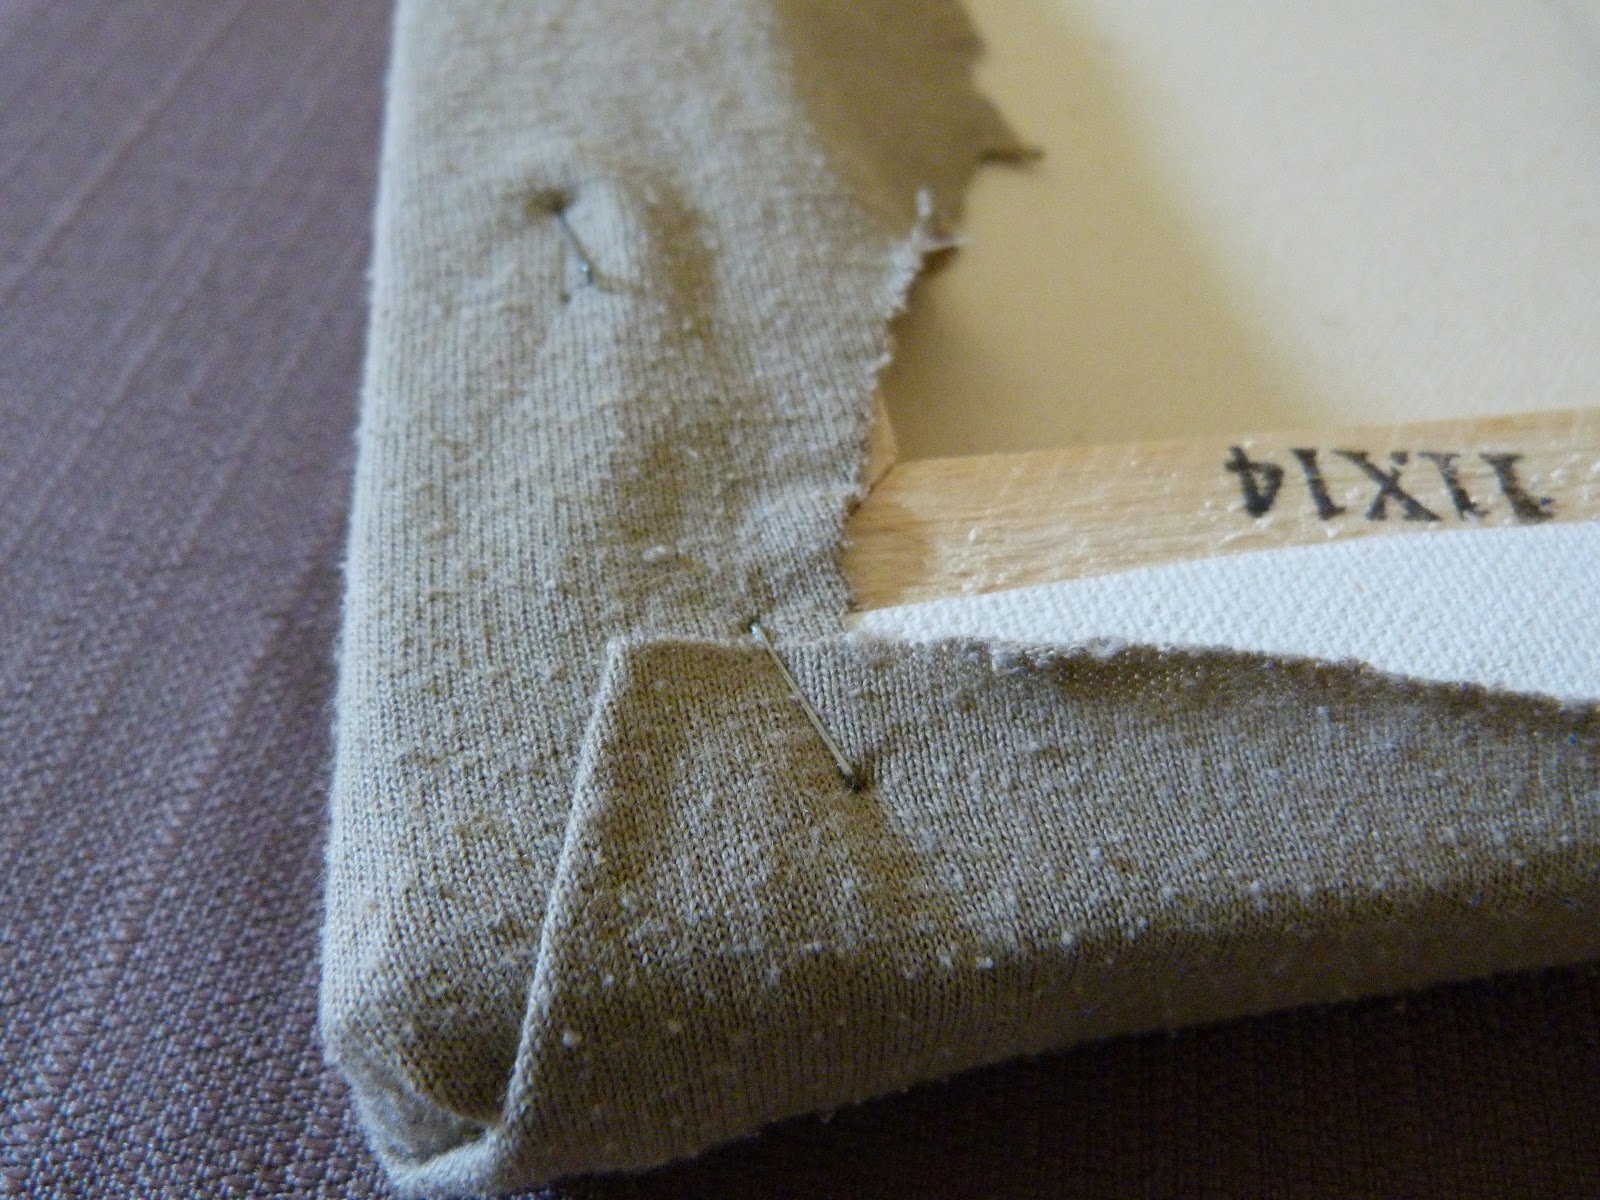

When you have finished, trim the fabric as needed.


BAM.  You're done!


Obviously, mine is not perfect.  I stretched the fabric a bit and distorted the letters a bit.  Ah, well.

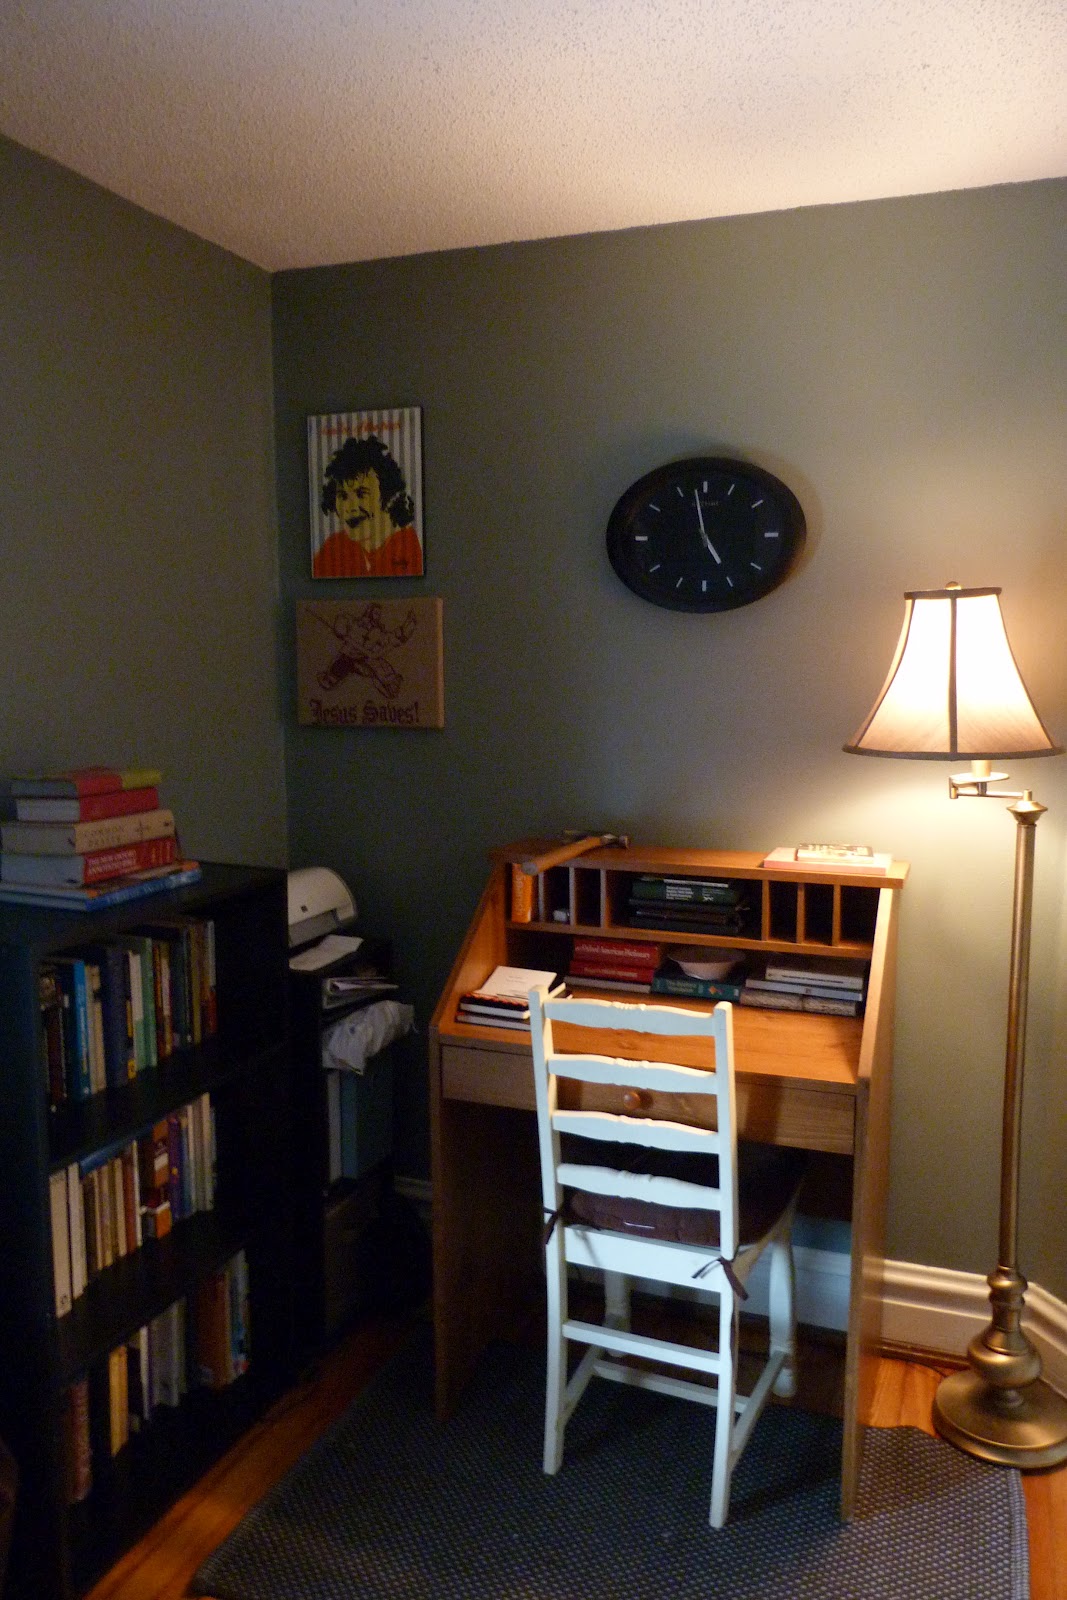
I hung this in our study along with one of Jordan's birthday presents, a spray painted Bobby Clarke image by an artist in Philly.  


Thursday, September 6, 2012

A $3 Lighting Solution (sort of)

A few weeks ago, I had an idea for what I hoped would be a cheap lighting solution for our study.  It was simple.  All I needed to do was procure a large, drum shaped lampshade.  I would remove the old light fixture and attach the shade in its place.  Brilliant, right?

Oh, yeah.  Everyone from YoungHouseLove to Ikea to upscale designers thought so.  DIYers had done it time and time again, and Ikea and the other designers had produced shades specifically for this purpose.  For example, here is really beautiful example from Shades of Light, for $179.

So, two or three thrift stores later, I found a $3 solution at Goodwill.  That's right.  Three American dollars.  And that actually included a very large and very gaudy lamp that I donated back to Goodwill immediately after removing the shade.  While it wasn't exactly the drum shade I was looking for, it was close enough.

This is what we started with.


After removing the bowl, we found this.


Unfortunately, after unscrewing the metal plate, we found that, although there is a center hole in the plate itself, there is a bar running across the plate that does not have a hole.  Also, this plate is covered with insulation, thus making it difficult to work with.  So, we threw around some ideas, came up with some good thoughts, and ended up propping the shade up on the lightbulb bases (forgive my inadequate terminology) until we figured it out.  Hence...


Three weeks later, we haven't made any attempts a longer term solution.  When we figure something out, I'll let you know.  Or, if you have a great idea, let me know.  Also, I now feel that we need to secure some fabric or something to the bottom to both diffuse light and make for a more attractive underside viewing.


If you're wondering, the paint color is Fisherman's Wharf by Allen + Roth and is available at Lowes.  


The rugs are from Target.  They are so cozy!


Saturday, September 1, 2012

Smoke and Silhouettes

As you likely know by now, Jordan and I bought our first house early this month and have since entered into uncharted (by us, that is) domestic waters.  We threw around the idea of starting a blog documenting our journey into making this old house a home, and, well, here it is.  It is our hope that this will give you a glimpse into our life (especially those of you who are far away) and that this tiny peek into the Leahy house will bring you laughter, ideas, and inspiration.

We dub the blog The Open House because we hope that people will find a safe place within these walls, a place where all are welcome as they are.  This blog is simply an extension of those walls.  We hope that you find a few moments of welcoming, warm space here too.  You are guaranteed to see some mistakes and some total failures.  You are also guaranteed to see some success.

Case in point, tonight's attempts at domesticity:

One of Jordan's goals for 2012 was to try to roast coffee at home.  There are a number of ways to do this, most of which entail the use of household items we do not own (for example, a popcorn maker).  The idea got put on the back burner as the year went on, but today the dream was reawakened.  Jordan stumbled upon a bag of green, unroasted coffee beans while perusing Artisan's Hope in Harrisonburg.


After carefully reading the portion of his book Home Coffee Roasting by Kenneth Davids detailing the oven roasting method, and after tracking down a perforated pan, the adventure began.


Below is a photo taken just minutes after the process, said to take 12-25 minutes, began.  At this point, the beans were looking pretty perfect.


I asked Jordan for help hanging a mirror in the dining room, thinking that we had at least ten more minutes before there was any chance of the beans burning.  Moments later, we heard a strange sound coming from the oven.  When Jordan opened the door, black smoke poured out and the beans, touched by more oxygen, burst into flames.  Key in Lindsey's panicked "Jordan!  What do we do?  What do we do?" and Jordan's amazingly calm, "We have to cut off the oxygen!"

Thankfully, he was right, and the fire put itself out, contained relatively safely in the oven.  However, the chaos was only beginning as the entire first floor immediately filled with smoke.  You will all be reassured to know the fire alarm works.  All too well, in fact.


Charred.


Remember that mirror I said we were trying to hang?  

I found two cheap Target mirrors at Goodwill earlier this week for $3 a piece.  I decided to hang them horizontally in the dining room to help open up the space and bounce around light.  Unfortunately, as you may know, such mirrors require one to attach brackets in order to be hung.  I was determined to avoid using cheap plastic brackets and decided to try mirror tape.  Have you heard of this stuff? 

We had just begun to hang the second mirror when the beans caught fire, and while we were running around opening doors, windows, and trying not to inhale smoke, the first mirror descended to the floor with an impressive crash.


Luckily, things weren't all bad.  In fact, we scored four chairs for our dining room table for $20, a brand  new shower curtain for $10, and I finally got around to making silhouettes of Jordan and I for our bedroom.  

This little project was SUPER easy and cheap.  Jordan and I each took a photo of the other's profile.  I used the basic iPhoto editor to create as much contrast in the photo as possible, scaled it to size, and then printed the images.  I cut out the silhouettes and traced them onto black card stock.  I used a red pen because it was metallic enough to show up on the paper.  A pencil would work well too.  Finally, I cut out the silhouettes from the card stock.


I found matching frames at Michael's for $10 a piece.  I'm sure it would be easy to find cheaper frames, but I loved that these were square and the perfect size.  

I had some extra card stock on hand in a variety of colors and, after choosing a color, glued the silhouettes to the paper and placed them in the frame.  I just used an extra strength glue stick, but I think modgepodge would work really well too.


Stay tuned for coffee roasting round two, and perhaps a photo or two of our $20 thrift store chairs.